5.7.12

Before and After: High-Waisted Piped Shorts

Here's an idea for another pair of shorts to add to your summer wardrobe. Pipe them. Not only do they look cool but also have a sort of nautical vibe, perfect for the current season. 


I began with a pair of off-white capri's that I picked up at the thrift store for $2. After some bleaching, snipping and sewing I welcomed my new pair of shorts with open arms.


The inspiration for these shorts took place amidst last weeks episode of Jane By Design. I loved her shorts but decided to change the colors up a bit.

Jane By Design

Hope everyone is having a great summer. Enjoy!


28.6.12

DIY Key Ring Pendant

Oh how I love staring through the glass windows of Tiffany and admiring the beautiful bajillion dollar pieces of jewelry. With their rings to bracelets to necklaces, Tiffany never fails to take my breath away. These were definitely a unique idea and I loved them. So I bought some key rings and tried to make them on my own.


If you want you could use assorted sizes and colors of key rings or you could just keep it simple like I did.


Stuff you need:
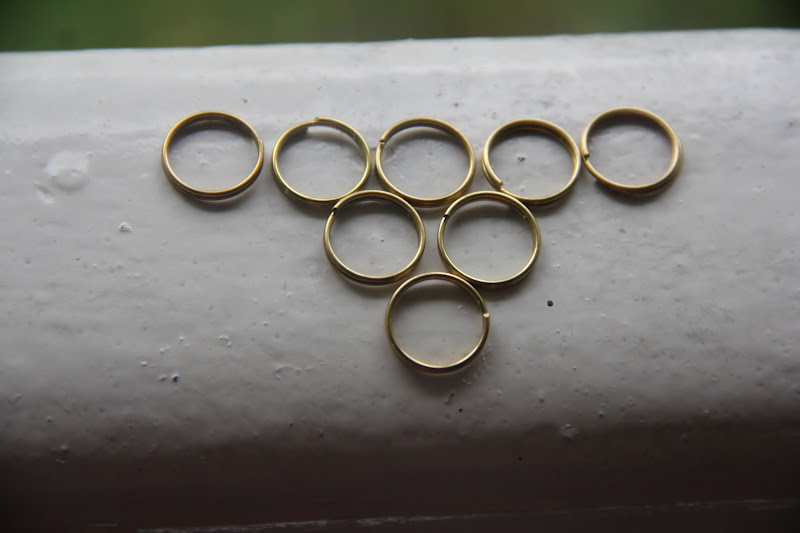
Several key rings
Necklace chain


1. Lay out the rings in the form of the pendant.


2. Begin by attaching just 2 together like you would a normal key ring.


3. Then attach the rest of the rings.


Attach to a necklace chain and wear!

p.s. Check out this post where queenoffunkydiy was featured on.

20.6.12

DIY Simple Strapless Dress

Now that summer is officially here it is the perfect time for all s's: swimming, smoothies, sunglasses and strapless dresses. This tutorial is an easy and inexpensive way to get your own strapless dress.

The result of this dress all depends on the fabric you choose. I was fortunate enough to come across an amazing summery floral while strolling through the fabric store the other day. I fell completely in love with it bought it immediatly.


Stuff you need:
1 meter of fabric
Elastic
Sewing machine (needle and thread will do)

1. Iron the fabric.


2. Measure around above your chest, under your arms. Add 10cm to this measurement. Find the center of the top of the fabric, this should also be where the center of you measurement is. Cut from the sides of the measurements to the bottom corner of the fabric. It should now form a trapezoid.


3. Fold the fabric in half and pin the sides together. Then sew them together.


4. Now fold the top of the dress inwards. The seam should be large enough for the elastic to fit inside. Sew in place and leave a gap to put the elastic through.


5. Cut the elastic so that is 7 cm shorter than the initial measurement you took at the beginning of this tutorial. Use a safety pin to pull the elastic through. Sew the 2 ends of the elastic together and close the seam.


6. Last but not least trim the dress to your desired length and fold to make a seam.


Now that you've got yourself a new basic, dress it up and have fun wearing it all through summer!

10.6.12

Inspiration: Cut Outs

Best way to make a piece of clothing 'un-boring'? Make some cut-outs. Although it is possible to take this method in the complete wrong direction and over the top you have to plan, don't cut aimlessly. Whether it is super funky, simple, minimalist, or just adds a hint of innocence, cut-outs are bound to excite your wardrobe.


Your cut out piece of clothing is only a couple of snips away!

20.5.12

DIY Dream Catcher

The sacred native american dream catcher is used to protect children from nightmares but can now also be used as a beautiful decorative item. Personally I really love them when they are made in exceptionally bright colors rather than browns and blacks. 


Stuff you need:
Wire
Masking tape
Fabric
String
Lace Doily
Feathers

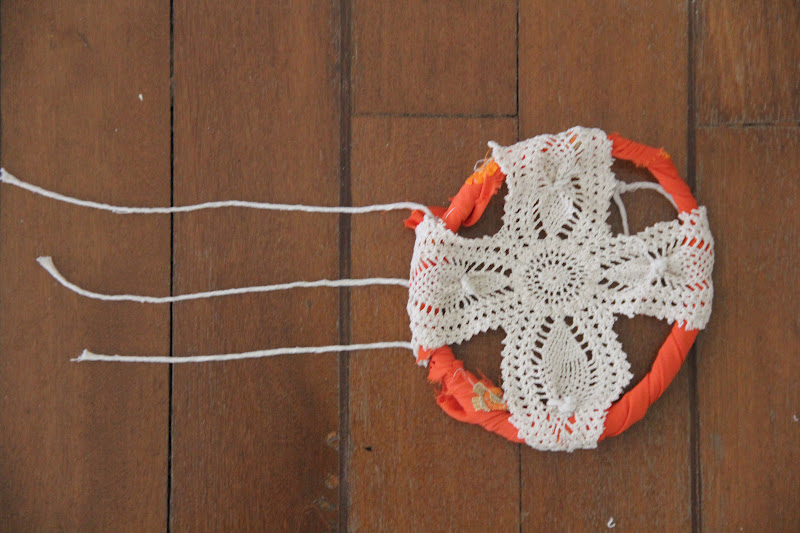
1. Cut a long piece of wire and bend it into a ring. Wrap the ring in masking tape.


2. Again cover the ring in a strip of fabric.


3. Attach the doily to the ring by weaving it around the sides using string.


4. Tie 3 strips of string to the dream catcher and tie feathers to them.


Now let your dream catcher protect you from all night mares :)

13.5.12

Inspiration: Geometrical and Organic Cuffs

Lately I have been in love with cuffs especially geometrical ones. They are just the coolest things, minimalist yet edgy. So I've been trying to figure out away to make them but nothing seems to come out the way I want it too. 

The orange ones below are my favorite so far and I am determined to make something similar. 'If there's a will, there's a way'. Will keep you updated on my constructions!


2.5.12

DIY Under Sleeve Tie-Dye Top

Tie-dying is definitely one of the best DIY activities ever created. It's fun and can be used in so many ways. Another benefit of tie-dying is that you will always be original, but that is basically a benefit from all DIY's. Tie-dye is special because you can experiment with original prints.


Stuff you need:
Plain white tee
Rubber bands
Dye

1. Collect fabric beneath the sleeve of the tee.


2. Dye the fabric then remove the neck.


This is a close-up of the print. Have fun tie-dying!