Showing posts with label Top's. Show all posts

29.1.12

DIY Block Print Tie-Dye

Before I begin I have to admit that this tie-dye was a fluke. When I started I didn't know what I was doing or how I was going to do it. I only knew it was going to be a tie-dye. So that's the reason why it's called 'block print tie-dye', I wasn't sure what to call it. But it is pretty cool right?

Stuff you need:
T-shirt
Dye
Rubber bands

1. Lay out your t-shirt


2. Roll one half of the shirt diagonally


3. Roll the other half inwards


4. Tie several rubber bands along the entire roll


5. According to the instructions on the dye packet, dye the rolled up t-shirts


Remove the rubber bands and dry the shirt. I cut off the collar and shortened my t-shirt because it was a large mens size.

Is this amazing or what?


28.12.11

DIY 3.1 Phillip Lim Inspired Sheer-Sweater Top

Apart from the comic printed sweaters, the 3.1 Phillip Lim Pre-Fall 2012 Collection appeared very subtle and conservative, but that is what makes it so versatile.

Lim repeatedly combined sweater material with sheer, giving us DIYers another easy designer inspired project.

Remove the sleeves of a sweater and replace them with the sleeves of a sheer top. Don't remove to much of the sleeve on one of the sides.

Style.com

Style.com

This one is interesting, I guess you could cut the bottom and sleeves of the sweater then layer on top of another shirt.

Style.com
I hope you all had a great christmas! Now I have to start on some new year blog resolutions for 2012... Happy new year everybody!

16.10.11

DIY 60's Style Sleeveless Shirt

These shirts make me think of summer, sun and style. The first photo is by Marc Jacobs, second is Dakota Fanning in 'The Secret Life Of Bees, and third is by Ralph Lauren. Don't they look so perfectly smart?


I didn't feel like doing a full on tutorial because it was so simple to make! I picked up a super cheap white shirt from a flea market and died it pink. Then I removed the sleeves and replaced it with some lining... Ta-daa!    


12.10.11

DIY 2 Color Pocket Tee

What's the point of shirt pockets? Old men in suits use them for handkerchiefs and pens. Apparently they were first invented so that you could keep business cards close to your heart... strange. Personally I prefer it when shirt pockets are empty, brightly colored, and worn by women.

I like the photos above way better than this, but I have to admit his mustache pretty cool.


So, it is time for yet another DIY.


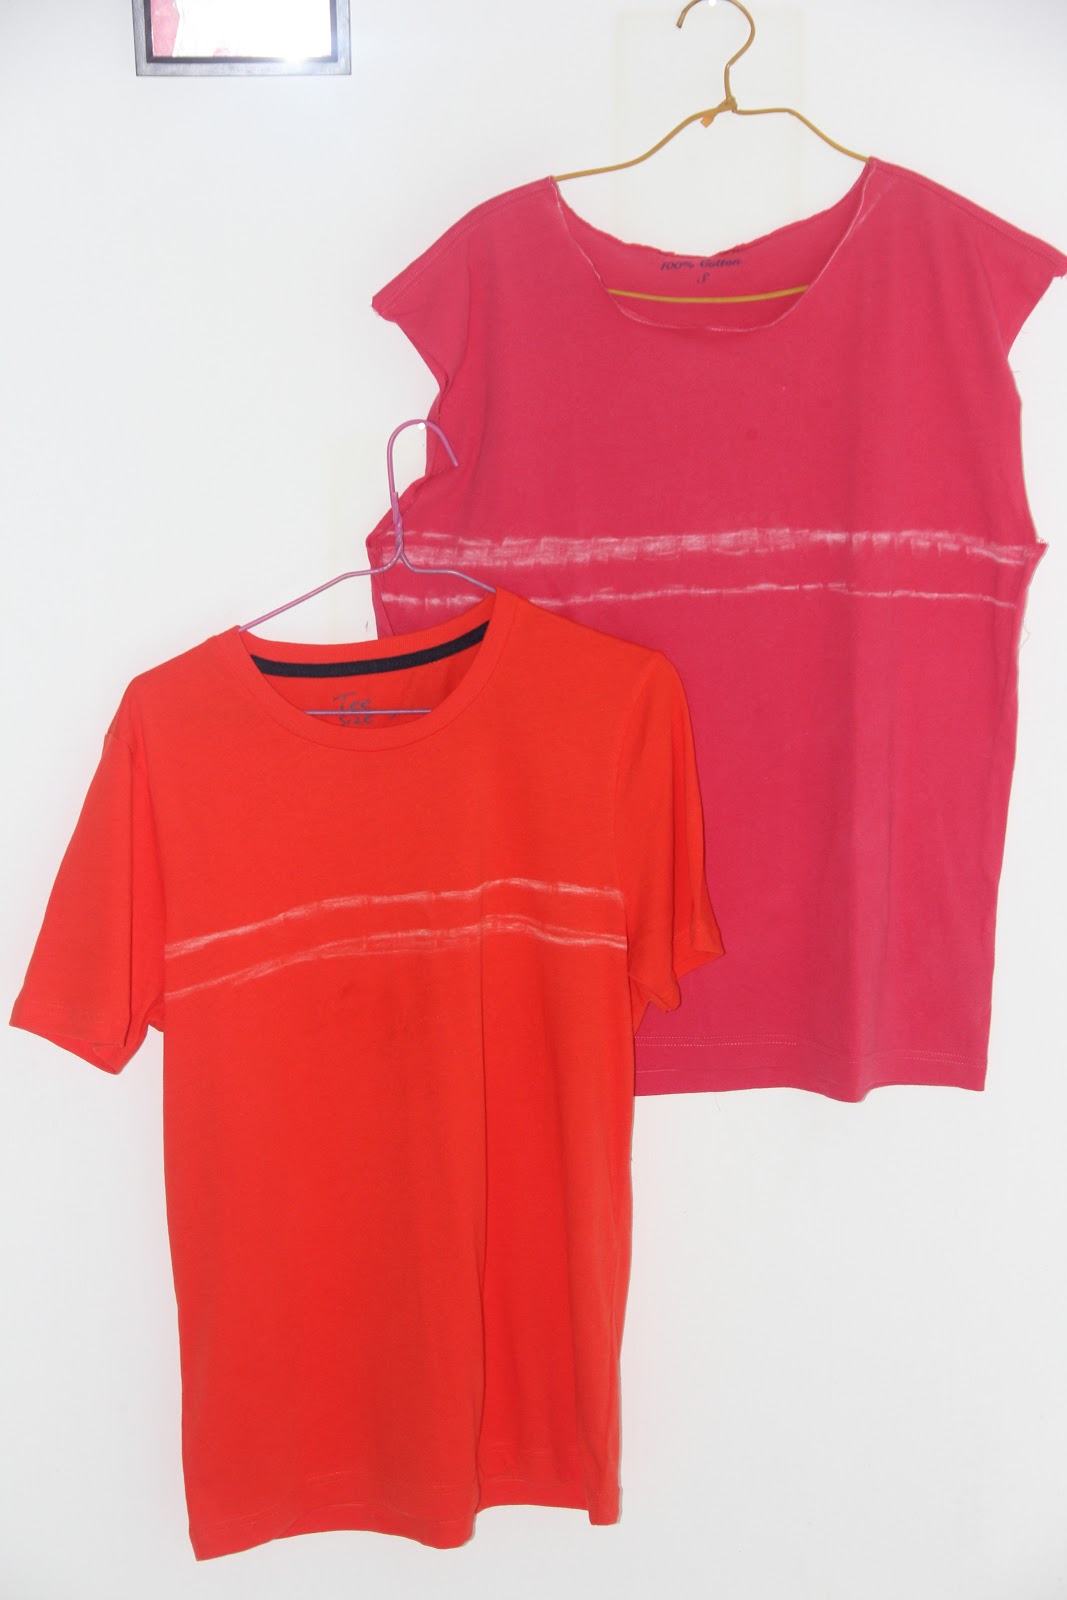
The white stuff is chalk that I forgot to dust off. Whoops!

Stuff you need:
2 oversized t-shirts
Chalk
Sewing machine (needle and thread will do, but it will take 10 times longer)
Seam ripper

1. Start off with your 2 t-shirts. The pink one is A and orange, B.


2. Using a seam ripper remove the sleeves t-shirt A. Be careful not to rip the fabric.


3. Then cut off the neck of the t-shirt A.


4. Afterwards pin the raw edge of the neck inwards and sew in place. (t-shirt A)


5. On each t-shirt draw a line where you want the 2 colors to meet. On t-shirt A draw another line 4 cm below. Cut on this line. And on the t-shirt B draw a line 4 cm above. Cut on this line.


6. Next, decide how large you want your sleeve to be. You may decide to turn the fabric inwards to this. Mark it by make a line with some chalk. Draw another line 3 cm to the side. Repeat this step on both sleeves.


7. Cut on the line closer to the edge.


8. Using a seam ripper, split t-shirt B into 2 pieces of fabric.


9. Pin t-shirt B to t-shirt A so it looks like below. Then sew the fabric together.


10. Next, turn the tee is inside out and pin then sew the sides together. Make sure to leave space for the sleeves.


11. This time turn the tee the right way out. Turn the raw edge of the sleeves inwards. Pin and sew.


12. Finally, the shirt pocket. Using a piece of chalk draw a shirt pocket of your preferred size on excess fabric from t-shirt B. Draw a line around it for seam allowance. Cut it out and turn the fabric above the pocket inwards. Pin and sew.


13. Pin the pocket onto the tee and sew.


Finally! Ta-daa!