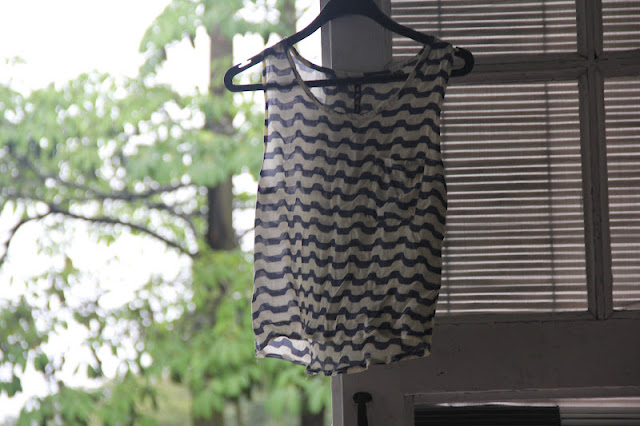
What's the point of shirt pockets? Old men in suits use them for handkerchiefs and pens. Apparently they were first invented so that you could keep business cards close to your heart... strange. Personally I prefer it when shirt pockets are empty, brightly colored, and worn by women.
I like the photos above way better than this, but I have to admit his mustache pretty cool.
So, it is time for yet another DIY.
 |
| The white stuff is chalk that I forgot to dust off. Whoops! |
Stuff you need:
2 oversized t-shirts
Chalk
Sewing machine (needle and thread will do, but it will take 10 times longer)
Seam ripper
1. Start off with your 2 t-shirts. The pink one is A and orange, B.
2. Using a seam ripper remove the sleeves t-shirt A. Be careful not to rip the fabric.
3. Then cut off the neck of the t-shirt A.
4. Afterwards pin the raw edge of the neck inwards and sew in place. (t-shirt A)
5. On each t-shirt draw a line where you want the 2 colors to meet. On t-shirt A draw another line 4 cm below. Cut on this line. And on the t-shirt B draw a line 4 cm above. Cut on this line.
6. Next, decide how large you want your sleeve to be. You may decide to turn the fabric inwards to this. Mark it by make a line with some chalk. Draw another line 3 cm to the side. Repeat this step on both sleeves.
7. Cut on the line closer to the edge.
8. Using a seam ripper, split t-shirt B into 2 pieces of fabric.
9. Pin t-shirt B to t-shirt A so it looks like below. Then sew the fabric together.
10. Next, turn the tee is inside out and pin then sew the sides together. Make sure to leave space for the sleeves.
11. This time turn the tee the right way out. Turn the raw edge of the sleeves inwards. Pin and sew.
12. Finally, the shirt pocket. Using a piece of chalk draw a shirt pocket of your preferred size on excess fabric from t-shirt B. Draw a line around it for seam allowance. Cut it out and turn the fabric above the pocket inwards. Pin and sew.
13. Pin the pocket onto the tee and sew.
Finally! Ta-daa!


